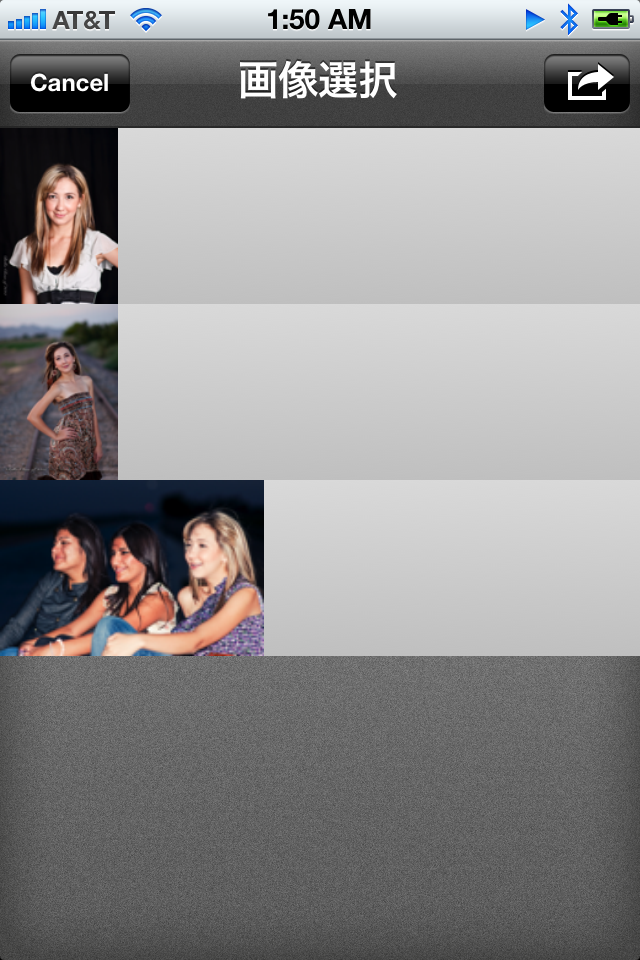
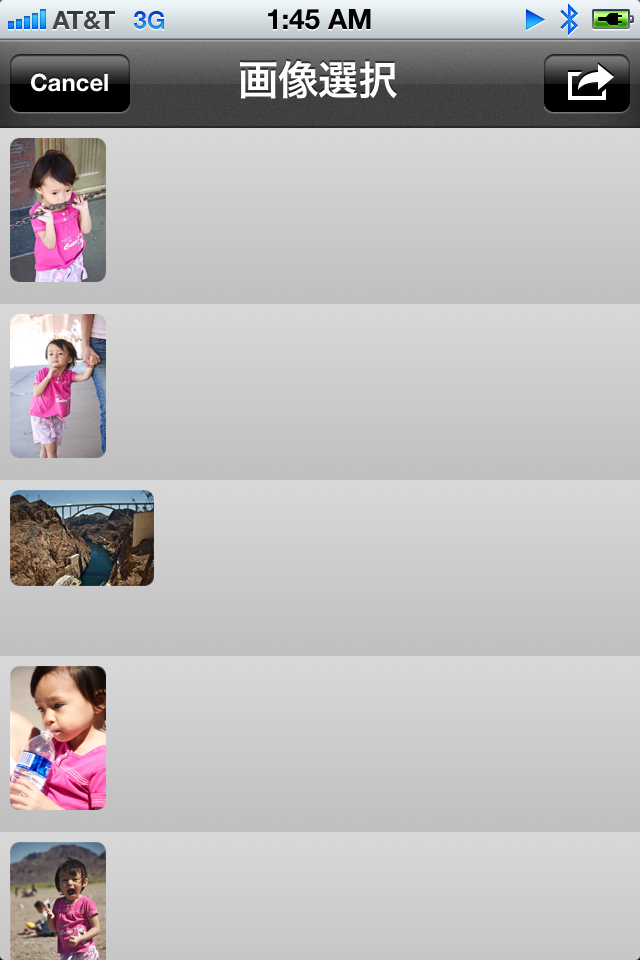
UITableViewCell の imageView は、画像を角丸にしたり、サイズを指定したりという、ある程度の設定を行う事が出来ますが、contentsMode や、frameなどのプロパティを設定しても、正しい位置に設定出来なかったり、また、横向き画像と縦向き画像がごちゃまぜになって、見栄えがガタガタになったりして、使いにくかったりします。また、Retina の画像を貼付けて、しかもサイズを小さくしようとすると、うまくいかず、解像度が悪くなってしまうこともあります。こんな感じです。

あまりかっこ良くないですよね。
これをこんな感じに、きれいに整える方法を紹介します。

うまくいかないのは、
- – (UITableViewCell *)tableView:(UITableView *)tableView cellForRowAtIndexPath:(NSIndexPath *)indexPath 内での実装
- – (void)tableView:(UITableView *)tableView willDisplayCell:(UITableViewCell *)cell forRowAtIndexPath:(NSIndexPath *)indexPath 内での実装
です。逆にうまくいくのは、 UITableViewCell をサブクラス化し、- (void) layoutSubviews クラスないに記述する 方法です。
[cc lang=”ObjC”]
#import
@interface PMDPictureListCell : UITableViewCell
@property (nonatomic, strong) NSIndexPath* lastIndexPath;
@end
[/cc]
このようにヘッダーに記述し
[cc lang=”ObjC”]
#import “PMDPictureListCell.h”
#import
@implementation PMDPictureListCell
@synthesize lastIndexPath;
– (id)initWithStyle:(UITableViewCellStyle)style reuseIdentifier:(NSString *)reuseIdentifier
{
self = [super initWithStyle:style reuseIdentifier:reuseIdentifier];
if (self) {
// Initialization code
}
return self;
}
– (void)setSelected:(BOOL)selected animated:(BOOL)animated
{
[super setSelected:selected animated:animated];
// Configure the view for the selected state
}
– (void) layoutSubviews {
[super layoutSubviews];
self.imageView.frame = CGRectMake(5, 5, self.imageView.image.size.width * self.imageView.image.scale / [[UIScreen mainScreen] scale], self.imageView.image.size.height * self.imageView.image.scale / [[UIScreen mainScreen] scale]);
self.imageView.contentMode = UIViewContentModeScaleAspectFit;
self.imageView.layer.masksToBounds = YES;
self.imageView.layer.cornerRadius = 5.0;
}
– (void) drawRect:(CGRect)rect {
// CGContextを用意する
CGContextRef context = UIGraphicsGetCurrentContext();
// CGGradientを生成する
// 生成するためにCGColorSpaceと色データの配列が必要になるので
// 適当に用意する
CGGradientRef gradient;
CGColorSpaceRef colorSpace;
size_t num_locations = 2;
CGFloat locations[2] = { 0.0, 1.0 };
CGFloat components[8] = { 0.85, 0.85, 0.85, 1.0, // Start color
0.75, 0.75, 0.75, 1.0 }; // End color
colorSpace = CGColorSpaceCreateDeviceRGB();
gradient = CGGradientCreateWithColorComponents(colorSpace, components,
locations, num_locations);
// 生成したCGGradientを描画する
// 始点と終点を指定してやると、その間に直線的なグラデーションが描画される。
// (横幅は無限大)
CGPoint startPoint = CGPointMake(self.frame.size.width/2, 0.0);
CGPoint endPoint = CGPointMake(self.frame.size.width/2, self.frame.size.height);
CGContextDrawLinearGradient(context, gradient, startPoint, endPoint, 0);
// GradientとColorSpaceを開放する
CGColorSpaceRelease(colorSpace);
CGGradientRelease(gradient);
}
@end
[/cc]
とモジュールに記述します。LayoutSubView の中では、
- imageView の frame (位置、サイズ)の指定
- imageView の contentMode の指定
- imageView の角丸の指定
をしています。また、 drawRect の中では、背景のグラデーションを指定しています。これは、akisute (akisutesama) on Twitter の A-Liaison BLOG: CGGradientを用いてUITableViewCellを描画し、テーブルをカッコよく見せる方法 のコードをそのままコピペして、色だけ変えさせていただいています。
こんな感じで、LayoutSubviews や、 drawRect を使うと、かなり見かけを調整することが出来ます。
「UITableViewCell の imageView を好きなところに置いたり、角丸にしたりする方法」への1件のフィードバック